How to Back Up Your Mac Before You Sell It
Time Machine, iCloud, or a straight copy — how to back up your Mac before you sell it, then move everything to your next one.
Encore Editorial · Sep 6, 2026 · 7 min read
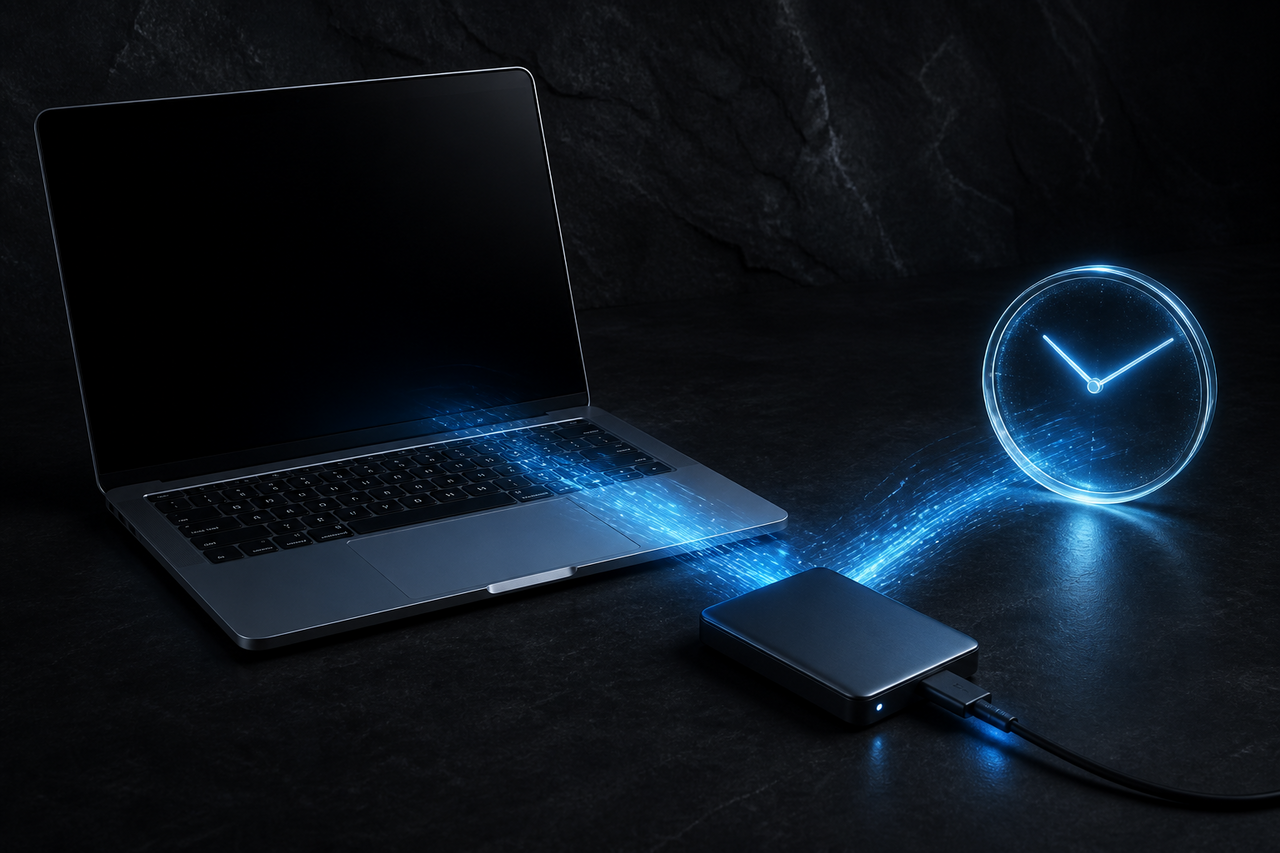
Erasing a Mac is irreversible, so the smart move is to back up your Mac before you sell it — while everything is still there to save. A good backup does double duty: it's your safety net if you forgot something on the drive, and it's the fastest way to pour your whole digital life onto your next Mac without reinstalling apps or hunting for files one at a time. Do this first, and the erase-and-wipe steps that follow become stress-free.
There are three practical ways to preserve what's on your Mac, and they're not mutually exclusive. Here's how each works, when to use it, and how to get it all back afterward.
Option 1: Time Machine (the complete one)
Time Machine is Apple's built-in backup, and it's the one to use when you want everything — apps, accounts, settings, and files, exactly as they are. As Apple describes it, all you need is an external USB or Thunderbolt drive; Time Machine then "automatically back[s] up all of your files, including apps, music, photos, email, and documents."
A few pointers before you start:
- Size the drive right. Apple recommends a backup disk with at least twice the storage capacity of your Mac — so a 512GB Mac wants a 1TB drive or larger, giving Time Machine room to keep a history of versions.
- Set it up. In macOS Ventura or later, connect the drive, open System Settings > General > Time Machine, click Add Backup Disk, pick your drive, and click Set Up Disk. Older versions use System Preferences > Time Machine.
- Consider encrypting it. During setup you can turn on Encrypt Backup, which protects the backup with a password — worth it, since a full backup contains your entire digital life.
Once it's configured, the Mac starts backing up on its own. To force it immediately, choose Back Up Now from the Time Machine icon in the menu bar and let the first full backup finish before you erase.
A full Time Machine backup is the one to make before selling. It captures the whole machine, and it plugs straight into Migration Assistant on your next Mac — so your new computer arrives already looking and working like your old one.
Option 2: iCloud (the automatic one)
If your files already live in iCloud, a lot of your "backup" may be done. iCloud Drive, Photos, Notes, and the rest sync continuously to Apple's servers, so signing in on a new Mac pulls them down automatically. Apple's overview of Mac backup options notes that iCloud keeps your content stored and available across your devices.
Two cautions, though. First, iCloud is not a full-system backup — it doesn't capture installed apps or system settings the way Time Machine does. Second, before you erase, make sure everything has actually finished uploading; a folder set to "optimize storage" may only exist in the cloud partway. Open the folders you care about and confirm files are current before you wipe. For most people, iCloud is a great complement to Time Machine, not a replacement.
Option 3: A manual copy (the quick one)
If you're not migrating to another Mac and just want a few specific things — a photo library, a documents folder, a project archive — the low-tech route is fine: drag them to an external drive or upload them to your cloud storage of choice. It skips app and system settings entirely, but if all you need is the files, it's the fastest path and requires nothing to set up.
Moving everything to your next Mac
Here's where a Time Machine backup pays off. When you set up a new Mac — or after setup, from the Applications > Utilities folder — you can use Migration Assistant to transfer your data across. Per Apple's Migration Assistant guide, if you made a Time Machine backup, the tool "can use that backup to restore all of your personal files, including your apps and everything in your user account."
The flow is straightforward: connect the backup drive to the new Mac, open Migration Assistant, and when asked how you want to transfer, choose the option to move from a Mac, Time Machine backup, or startup disk. Select your backup, pick which categories to bring over — user accounts, applications, files and folders, settings — and let it run. When it finishes, your new Mac is a near-exact continuation of the old one. (You can also migrate directly from one Mac to the other over Wi-Fi if both machines are on and awake, no drive required.)
Then, and only then, erase
With a verified backup in hand, you're clear to prepare the old Mac for sale. Apple's pre-sale checklist lists backing up as the very first step, ahead of signing out of iCloud and erasing — the logic being that once the drive is wiped, there is no undo. Confirm the backup opens and your key files are really in it, then move on to the sign-out and erase steps with confidence.
The payoff
Backing up isn't busywork — it's what lets you erase boldly instead of nervously, and what turns setting up a new Mac from an afternoon of reinstalling into a coffee-length wait. Make the Time Machine backup, verify it, sync anything important to iCloud as a second layer, and your data is safe no matter what happens to the hardware.
And once the old machine is backed up and wiped, it's ready to become part of your next upgrade's budget. If you'd like to know what it's worth, an instant offer takes about 30 seconds — but back it up first, every time.
Get an instant offer on your Mac
A real number in about 30 seconds — working or not. Free prepaid shipping, no seller fees, paid the day it arrives.*
Get my offerSources
More from Encore
 Guides & How-To
How to Check If Your Mac Is Still Under AppleCare
Find out in two minutes whether your Mac still has AppleCare or warranty coverage, how to read the result, and whether it transfers to a buyer.
Nov 19, 2026 · 4 min read
 Guides & How-To
How to Prove Your Mac Isn't Stolen to a Cautious Buyer
Nervous buyers want proof a used Mac is really yours to sell. Here's the paperwork and the two-minute checks that put their mind at ease.
Nov 18, 2026 · 4 min read
 Guides & How-To
Forgot Your Mac's Password Before Selling? Here's What to Do
Locked out of a Mac you want to sell? Here are the recovery routes in order — and the Find My step you still must not skip, even after a full erase.
Nov 17, 2026 · 4 min read